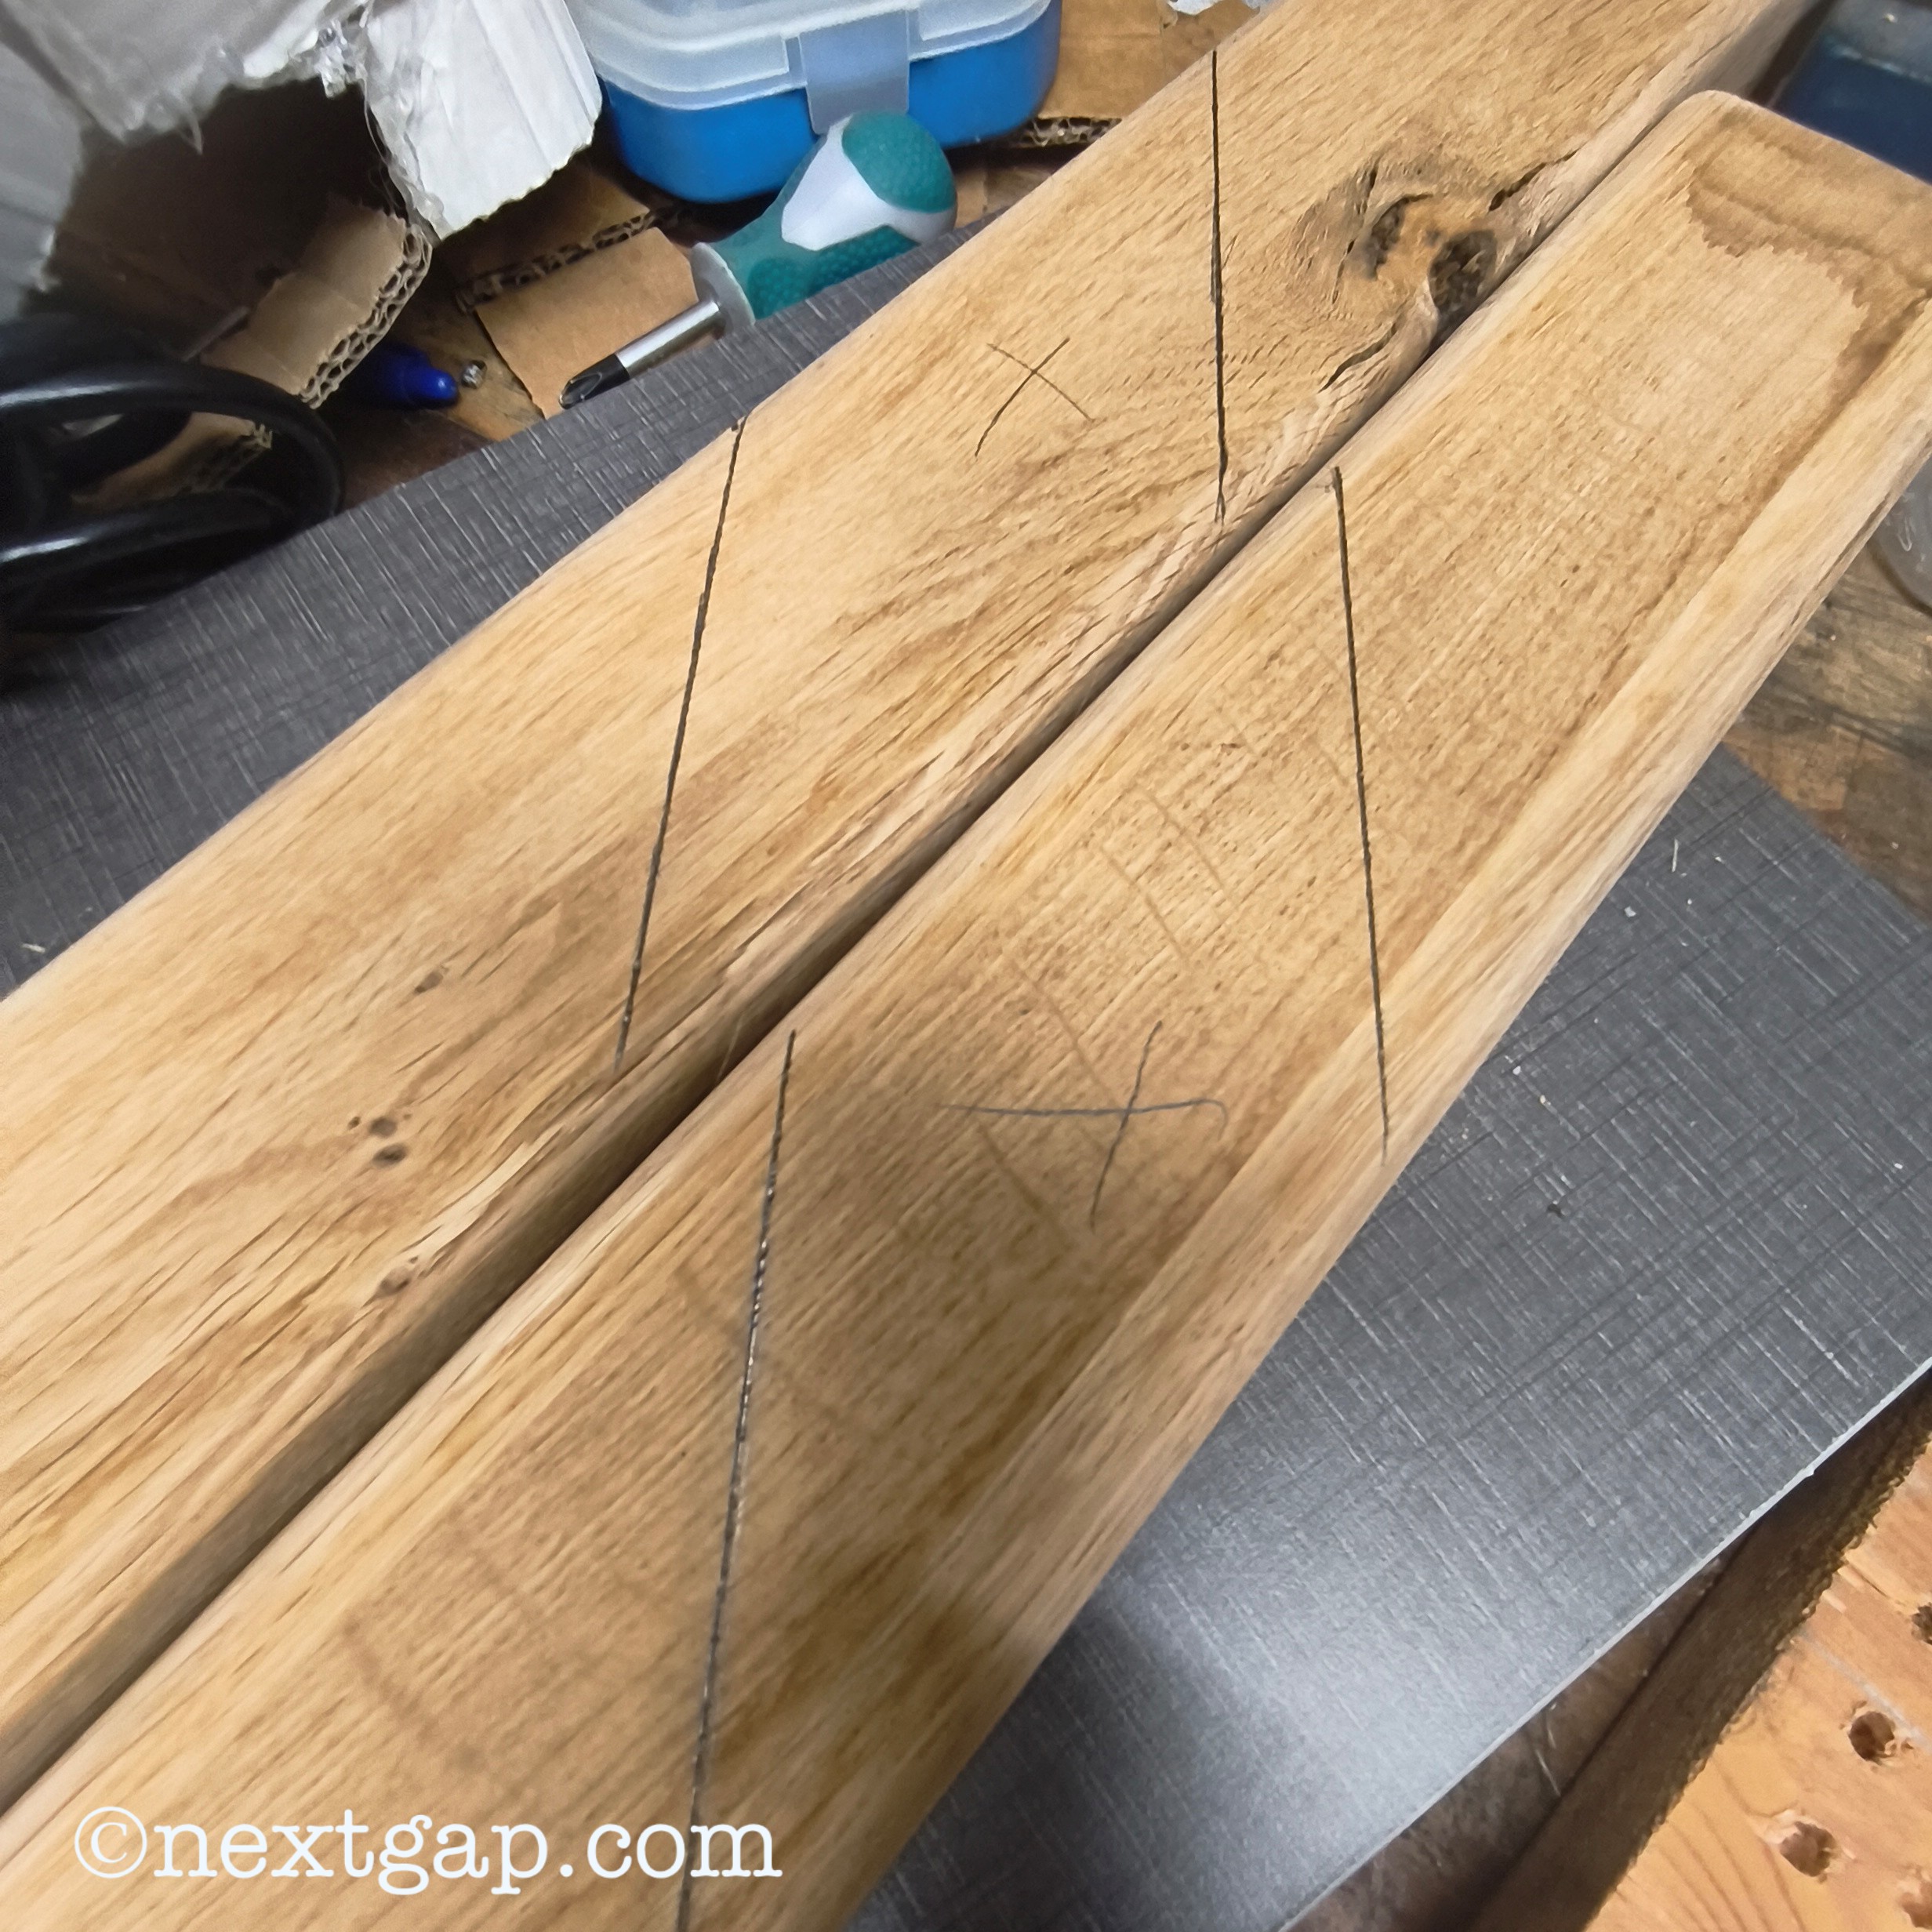
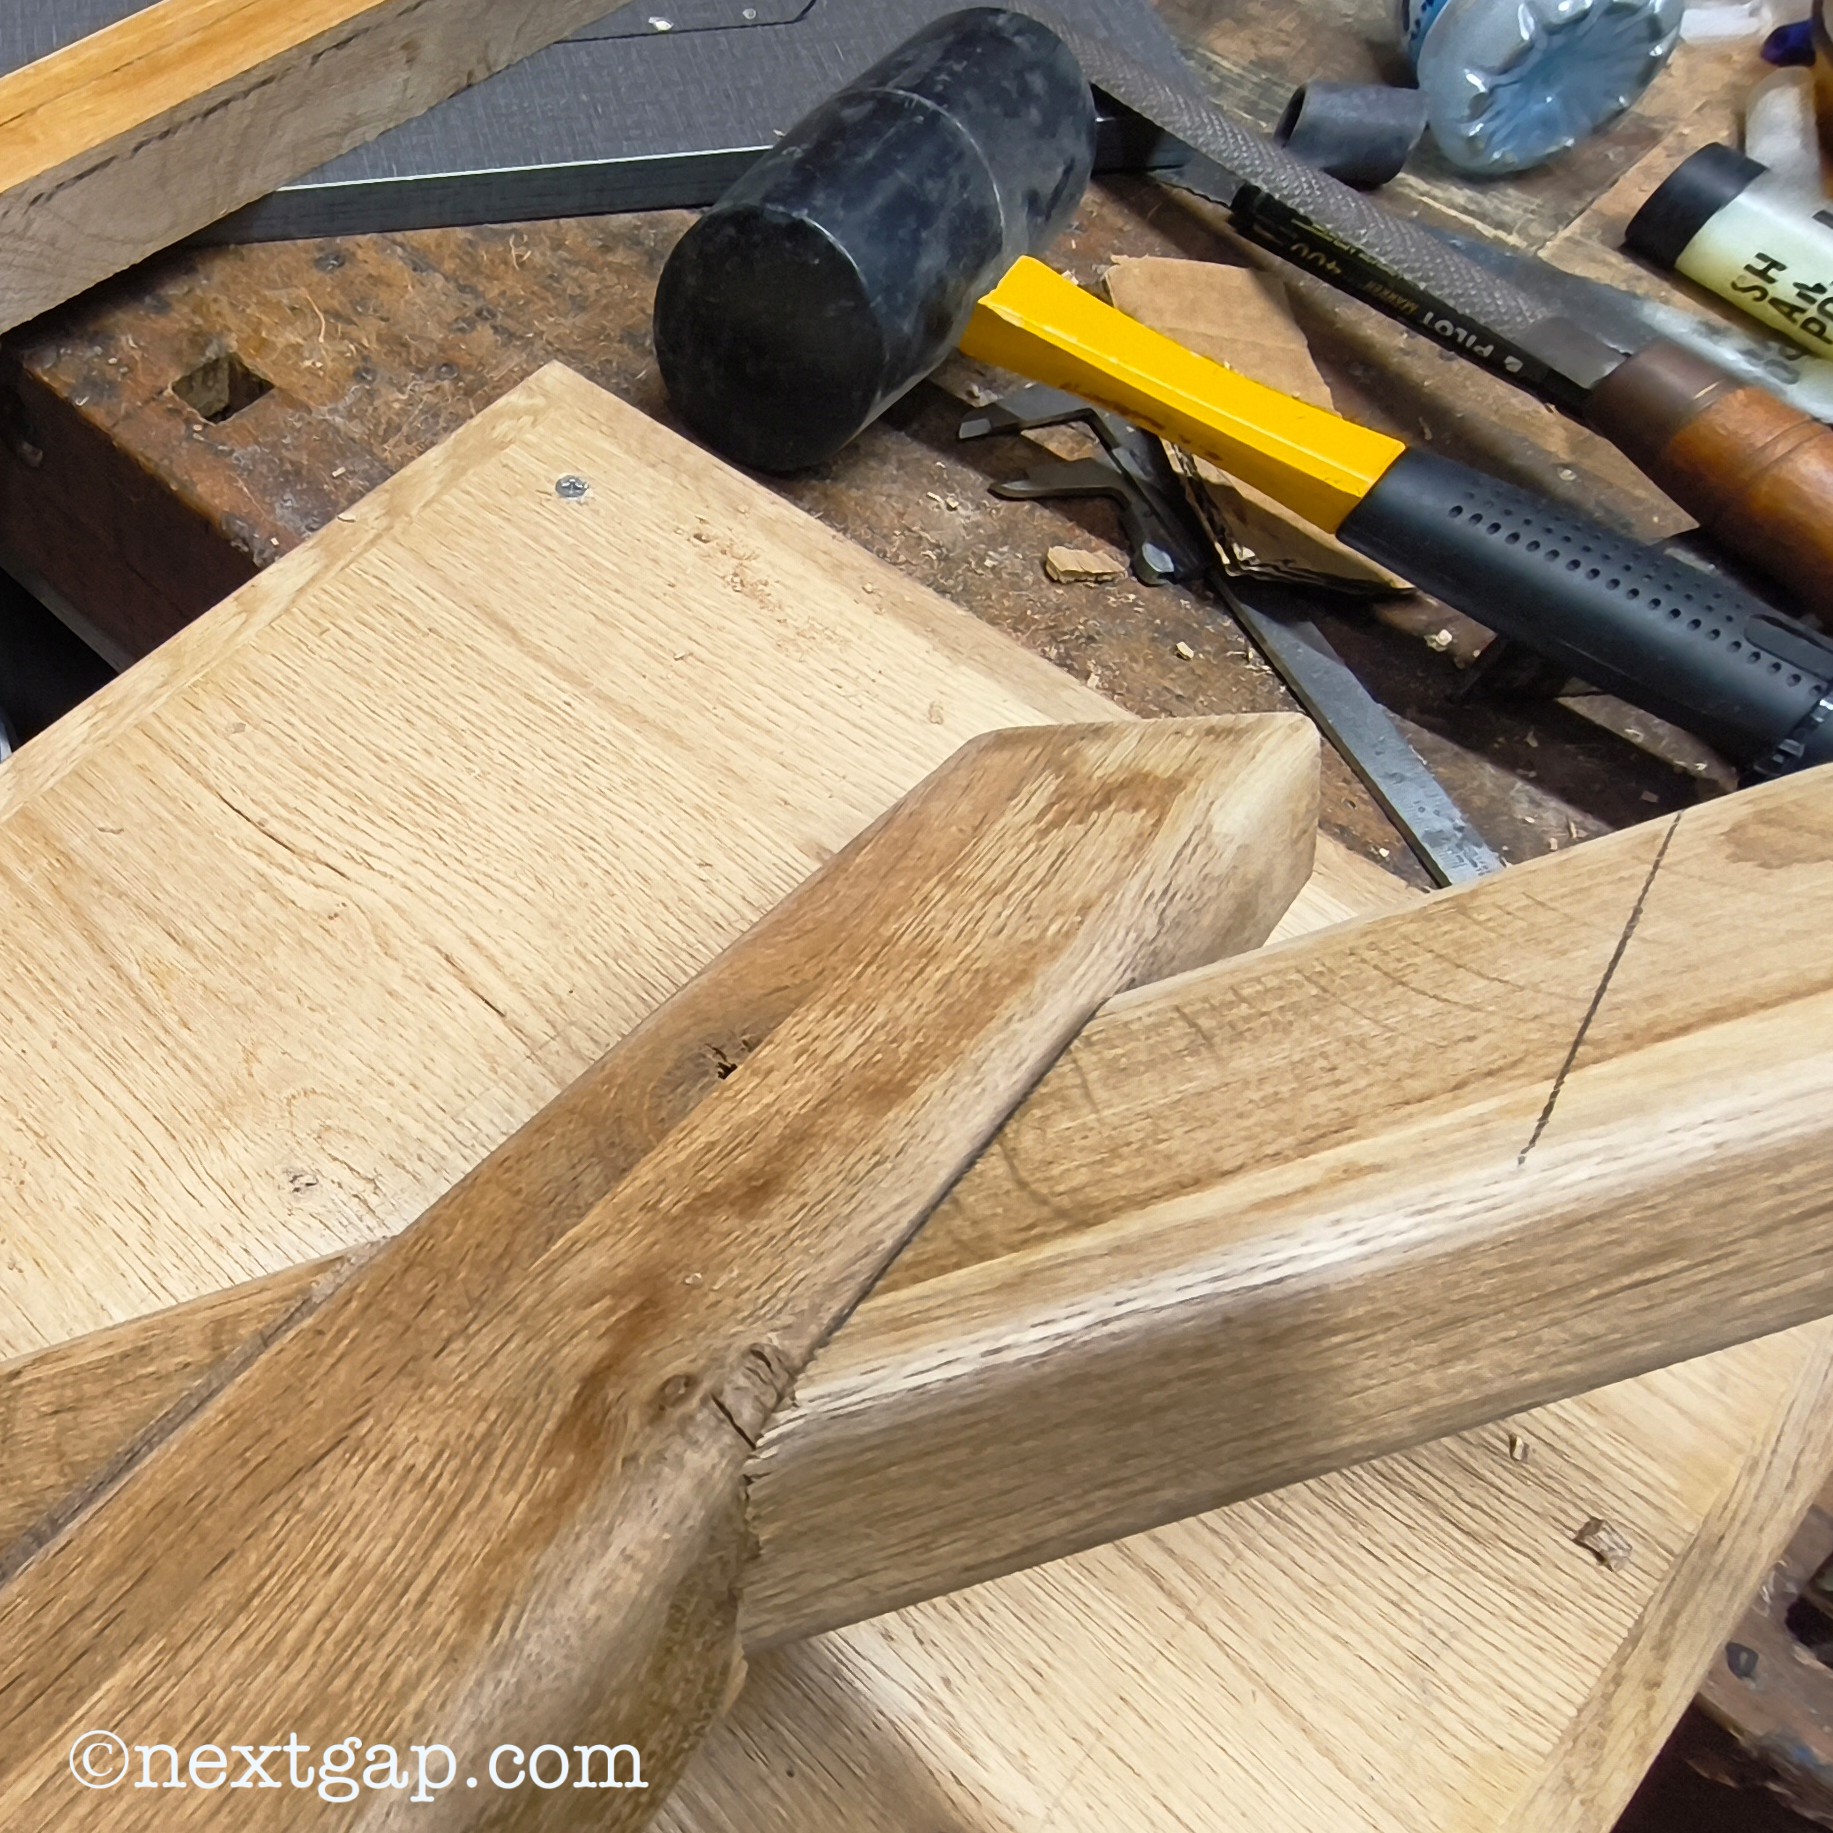
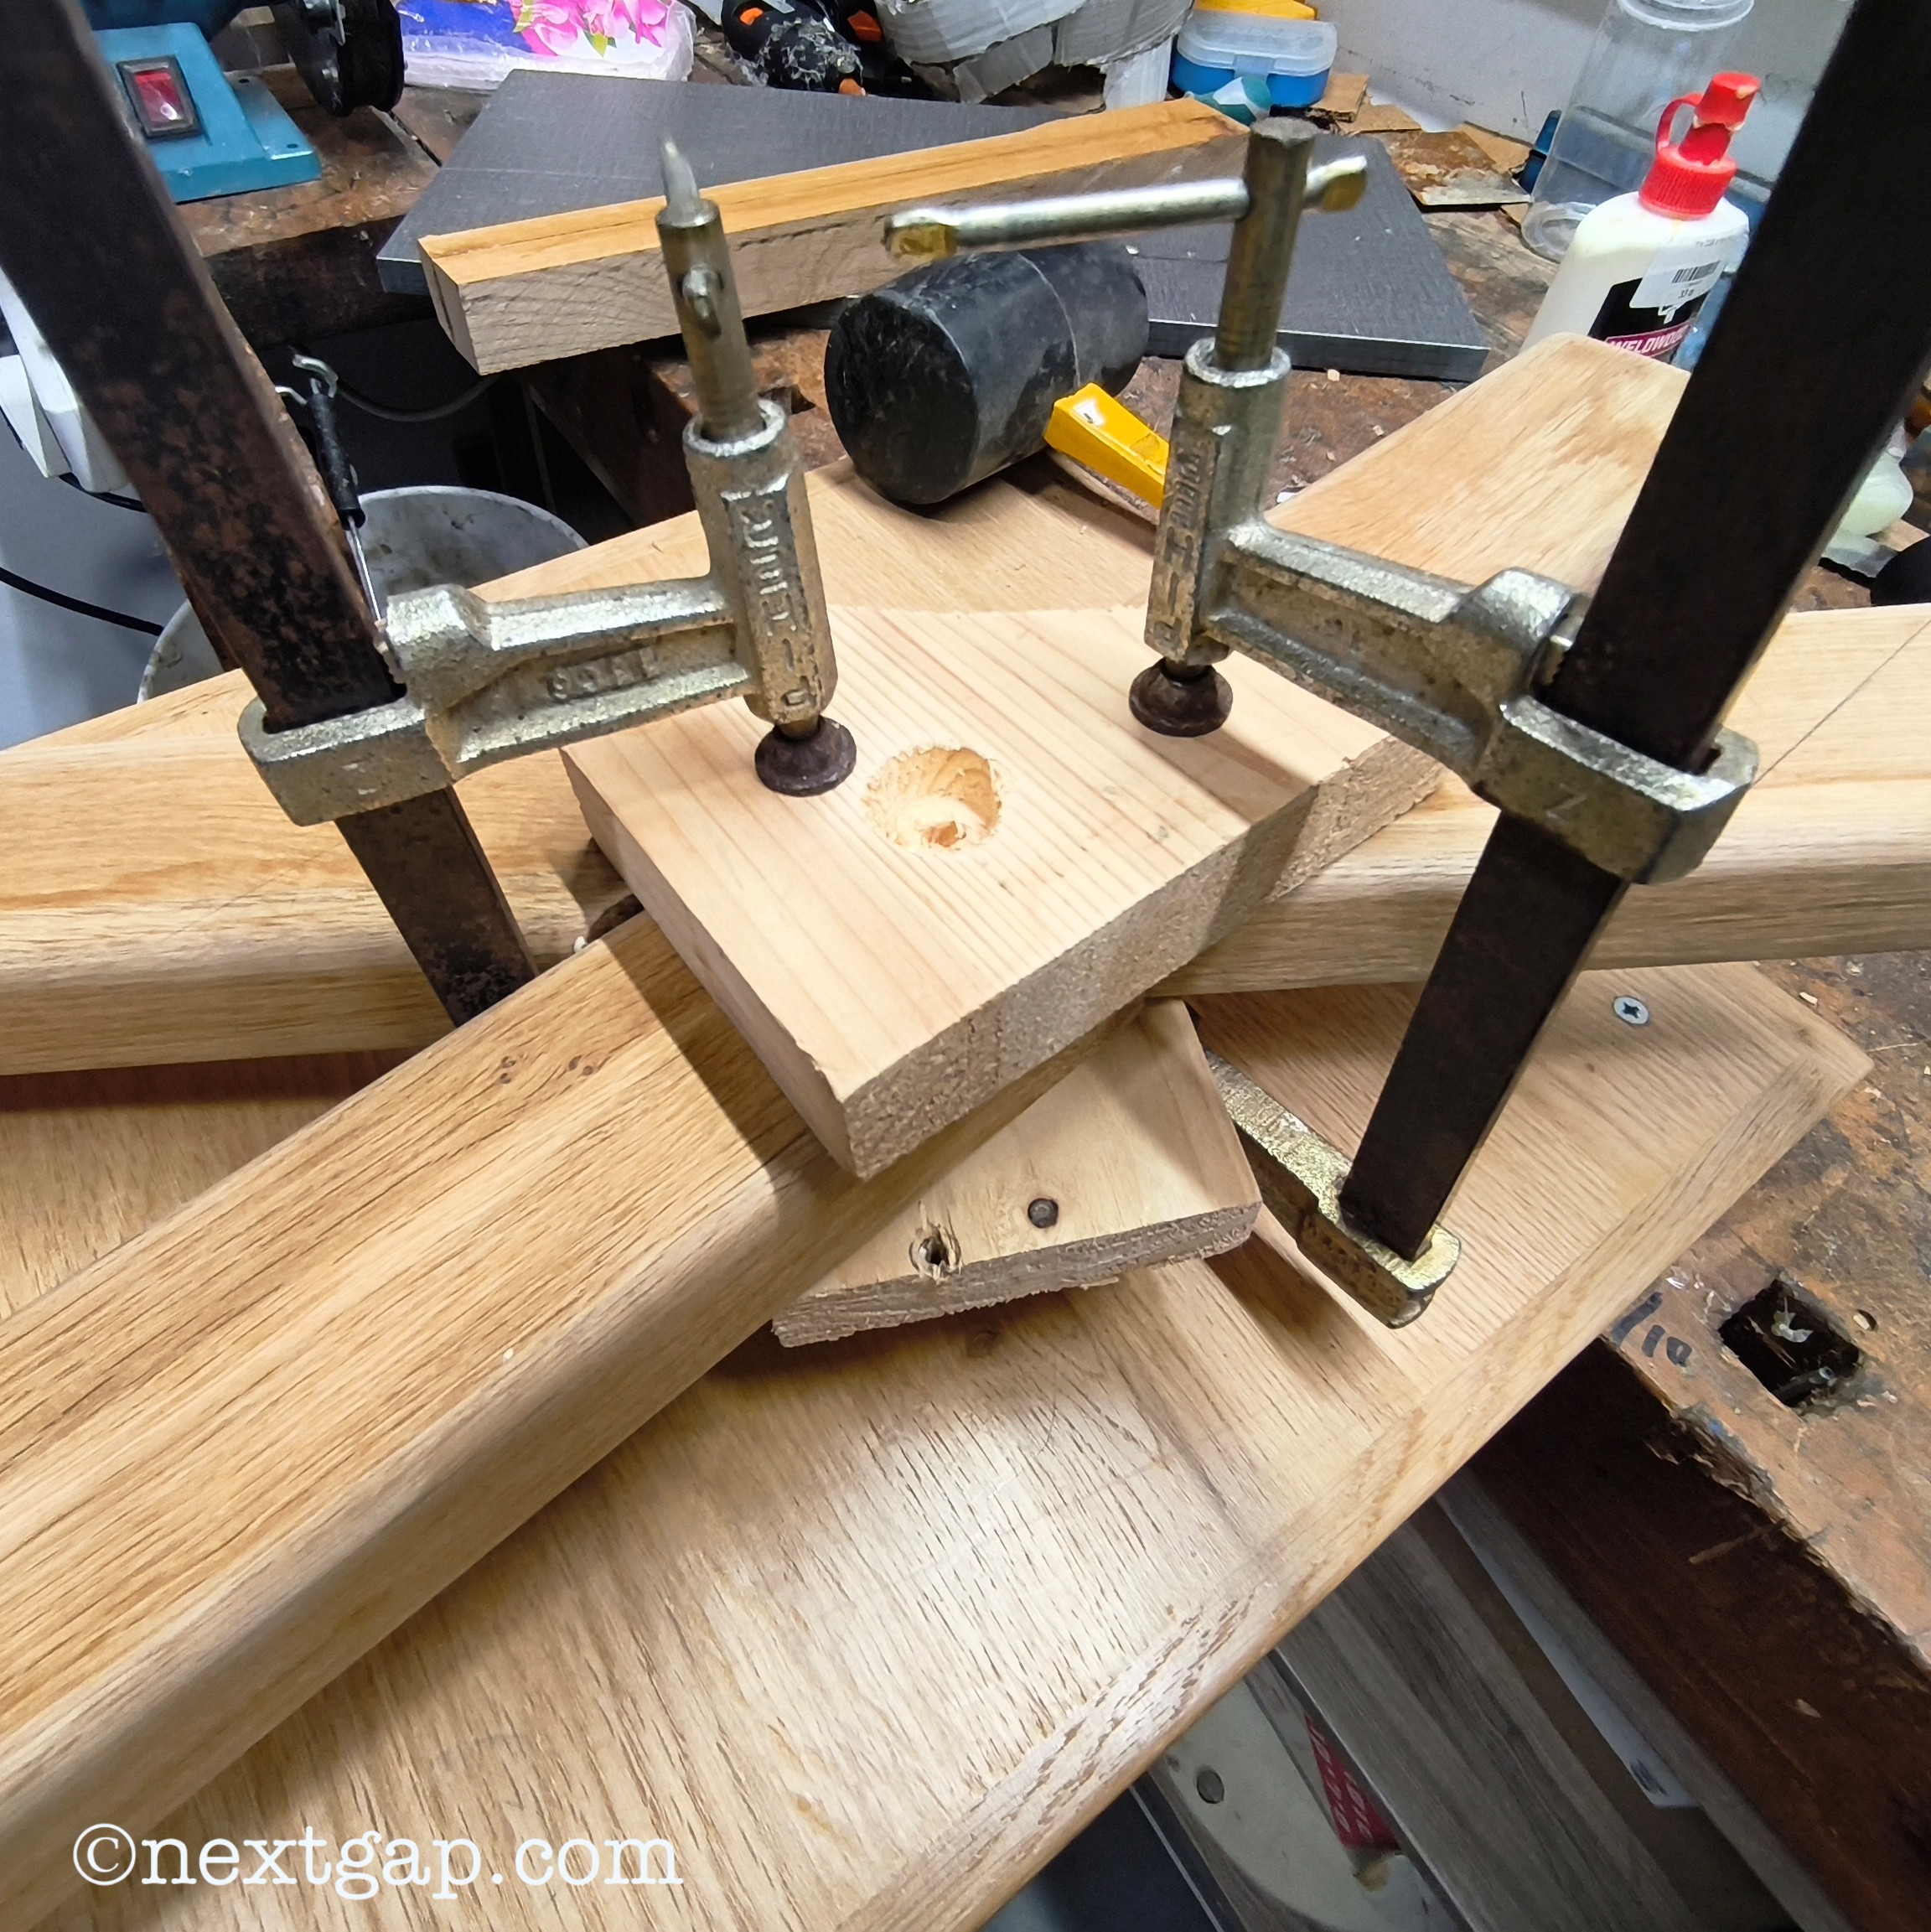
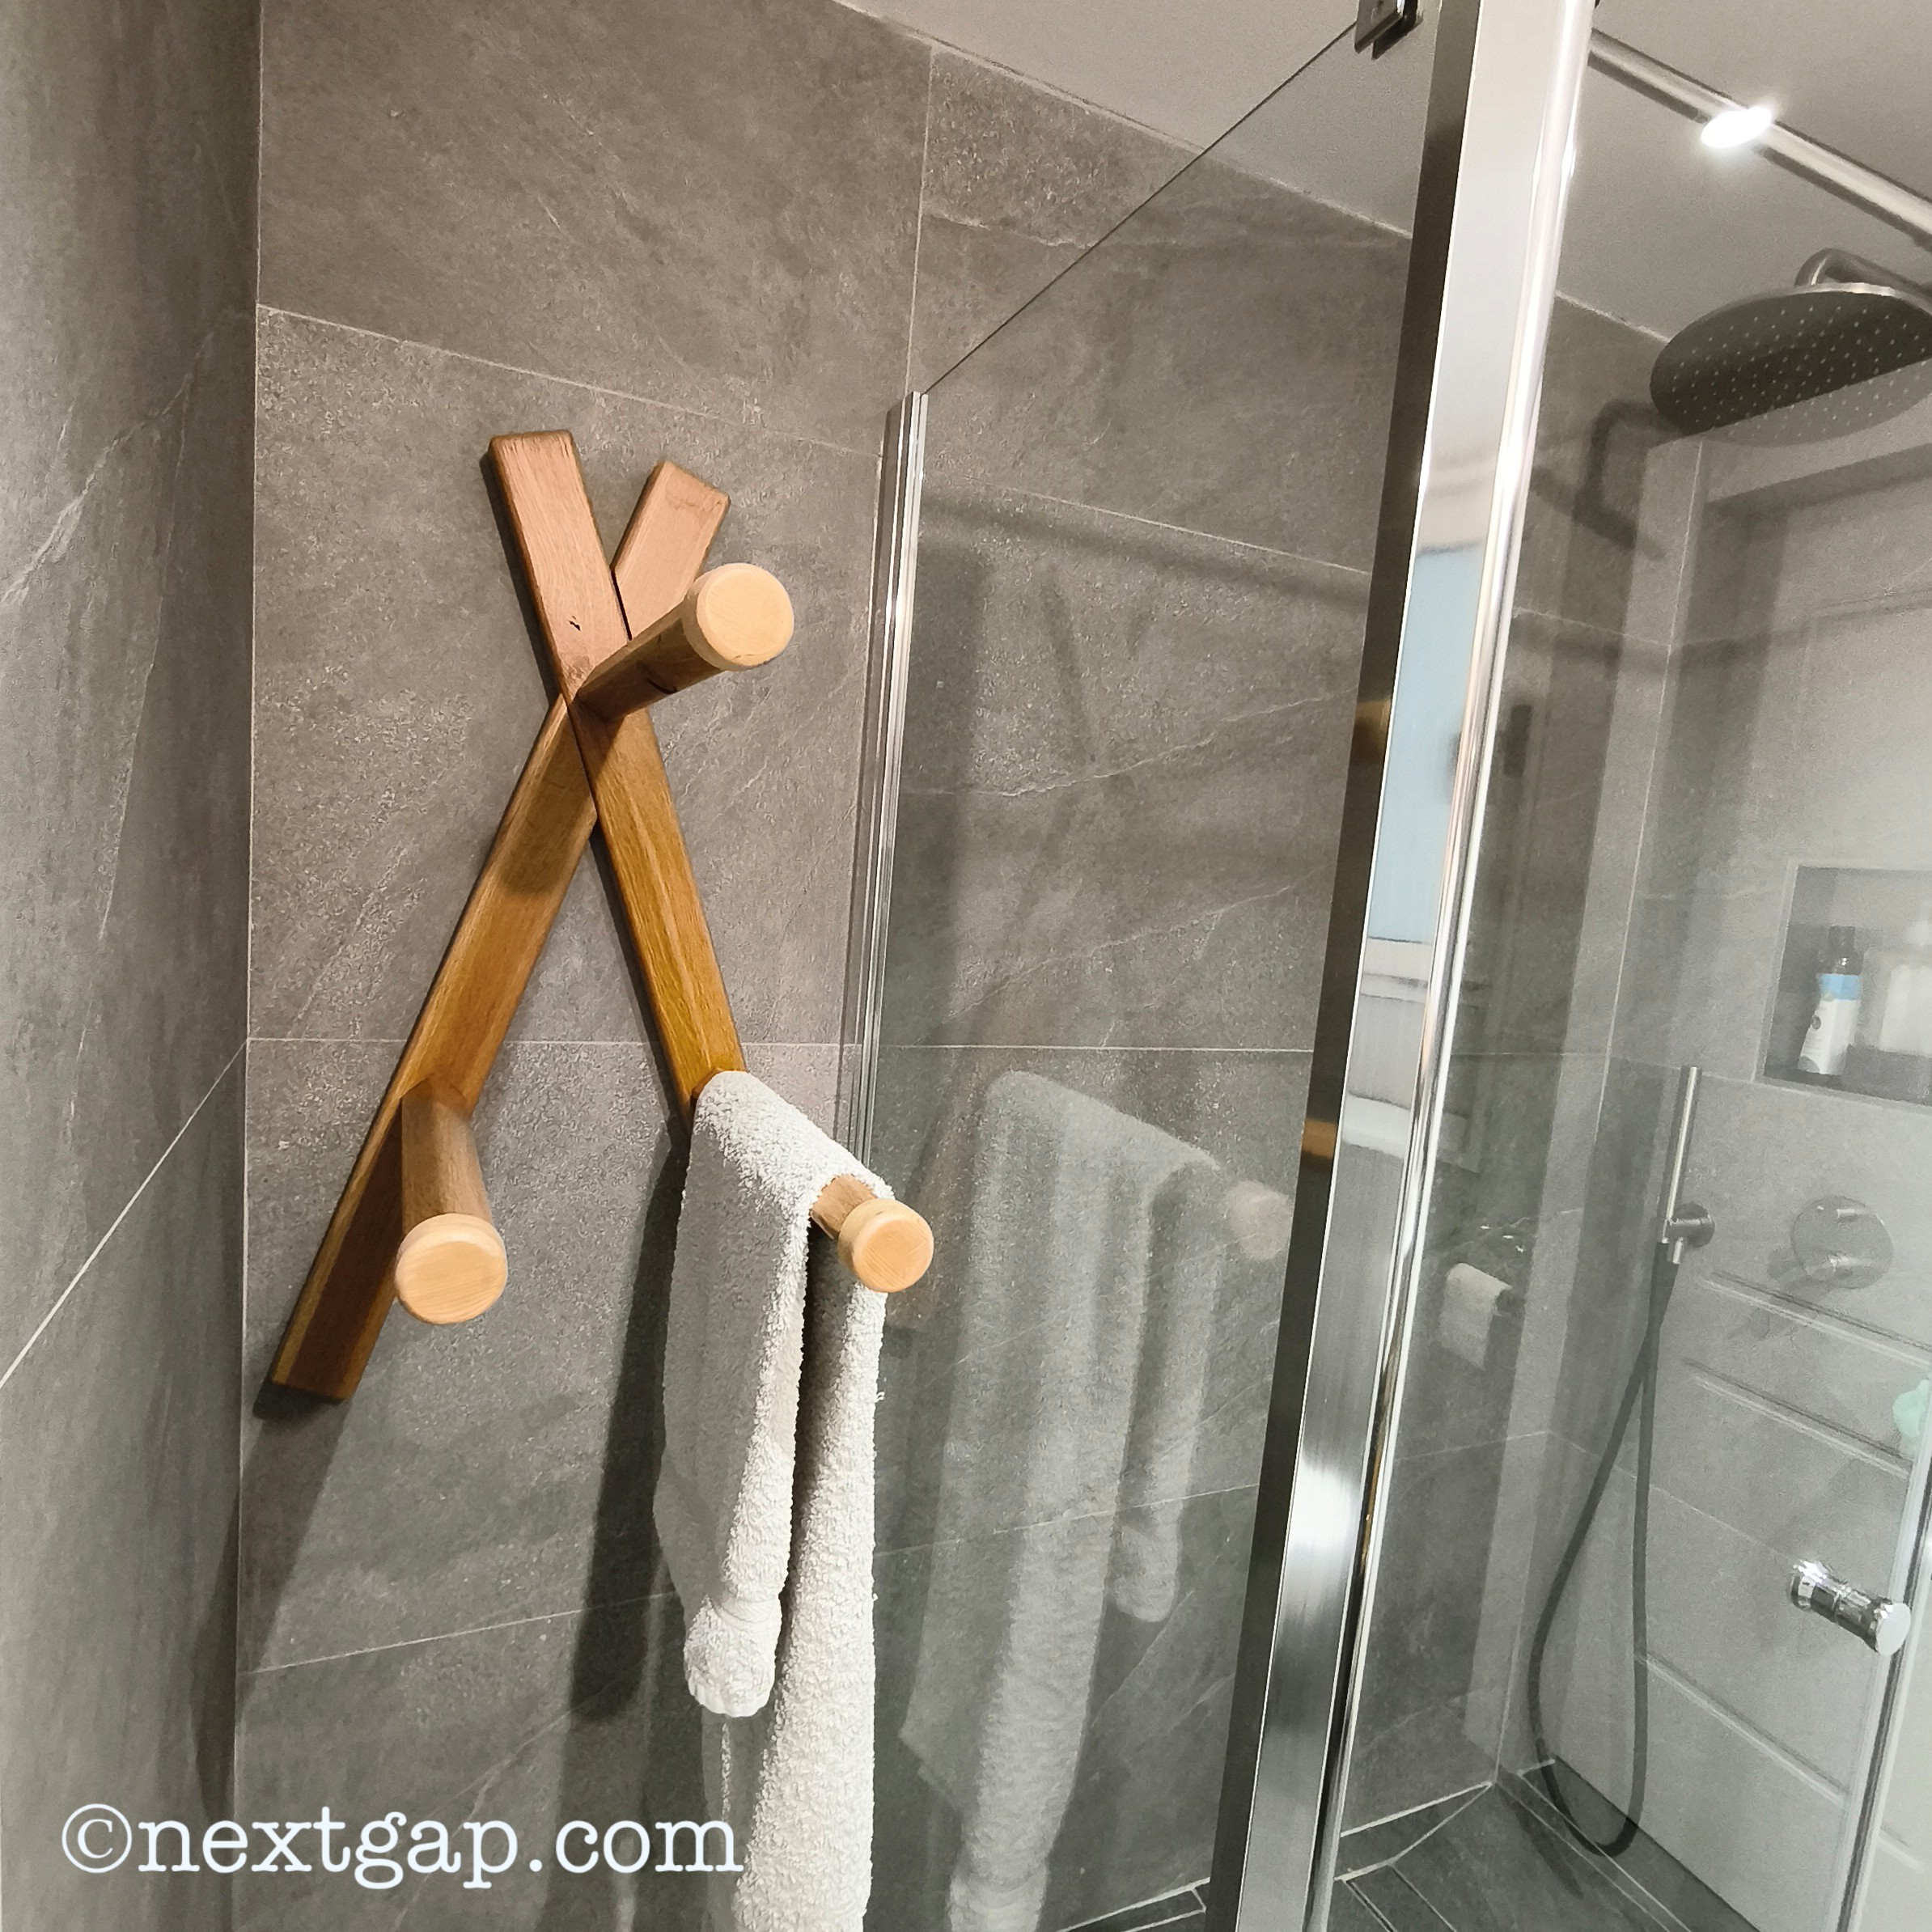
In this post I’ll present a wooden towel hanger that I built. I will accompany the process with photos of the different stages. The towel hanger is made from hardwood – I think Oak but I’m not 100% sure. Could be ash too. If you’re a wood expert please comment below what you think. Initially I wanted a ladder like design, but on second thought, a ladder style hanger can be less effective because the towels may overlap, which reduces airflow and can slow drying. It also can look bulkier and more conventional and compared with separate projecting poles, each towel is also slightly less accessible and less visually independent. I then had the idea of an overlapping up-side-down V shape, which could fit perfectly in the shower nish.
I used a Bosch GKS 190 circular saw for cutting the raw materials: I attached the GKS 190 to a thick sheet of plywood, making it a DIY table saw, with which I’ve used to cut the 4 c”m thick Oak into two pieces of 7X4cm which will create the X shape main rails, and three pieces of 4x4cm, which will be the towel rods.
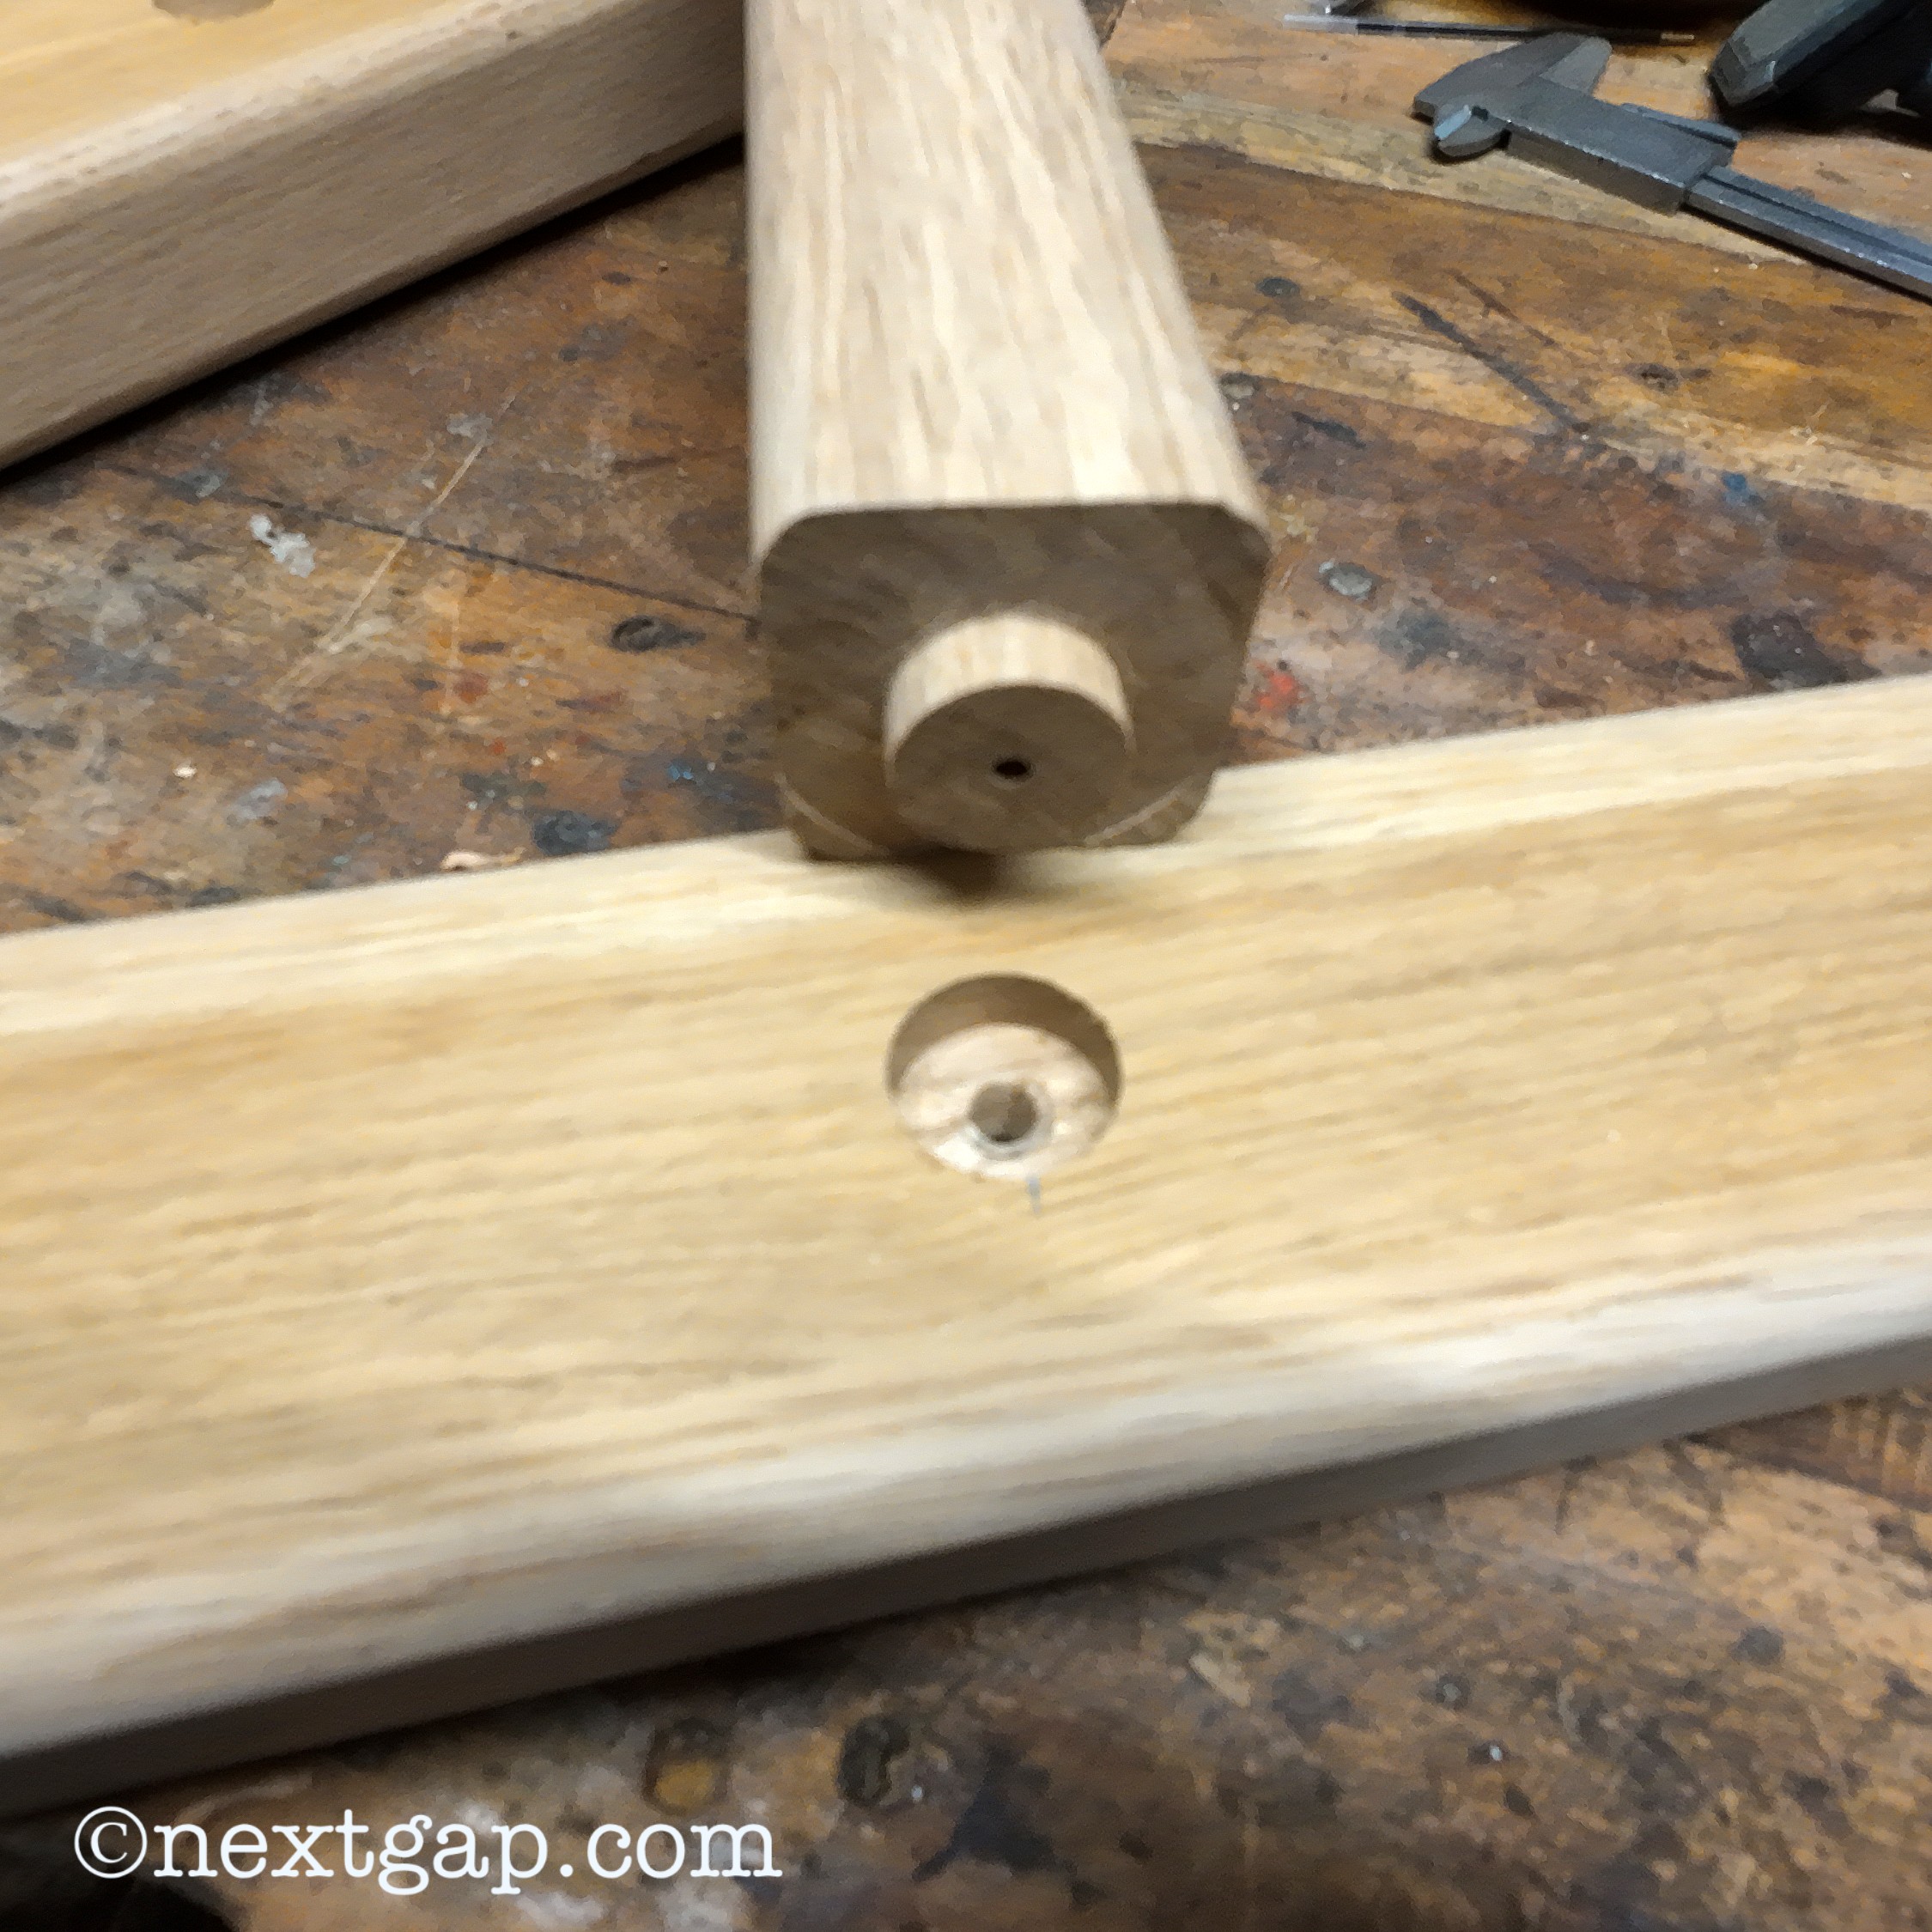
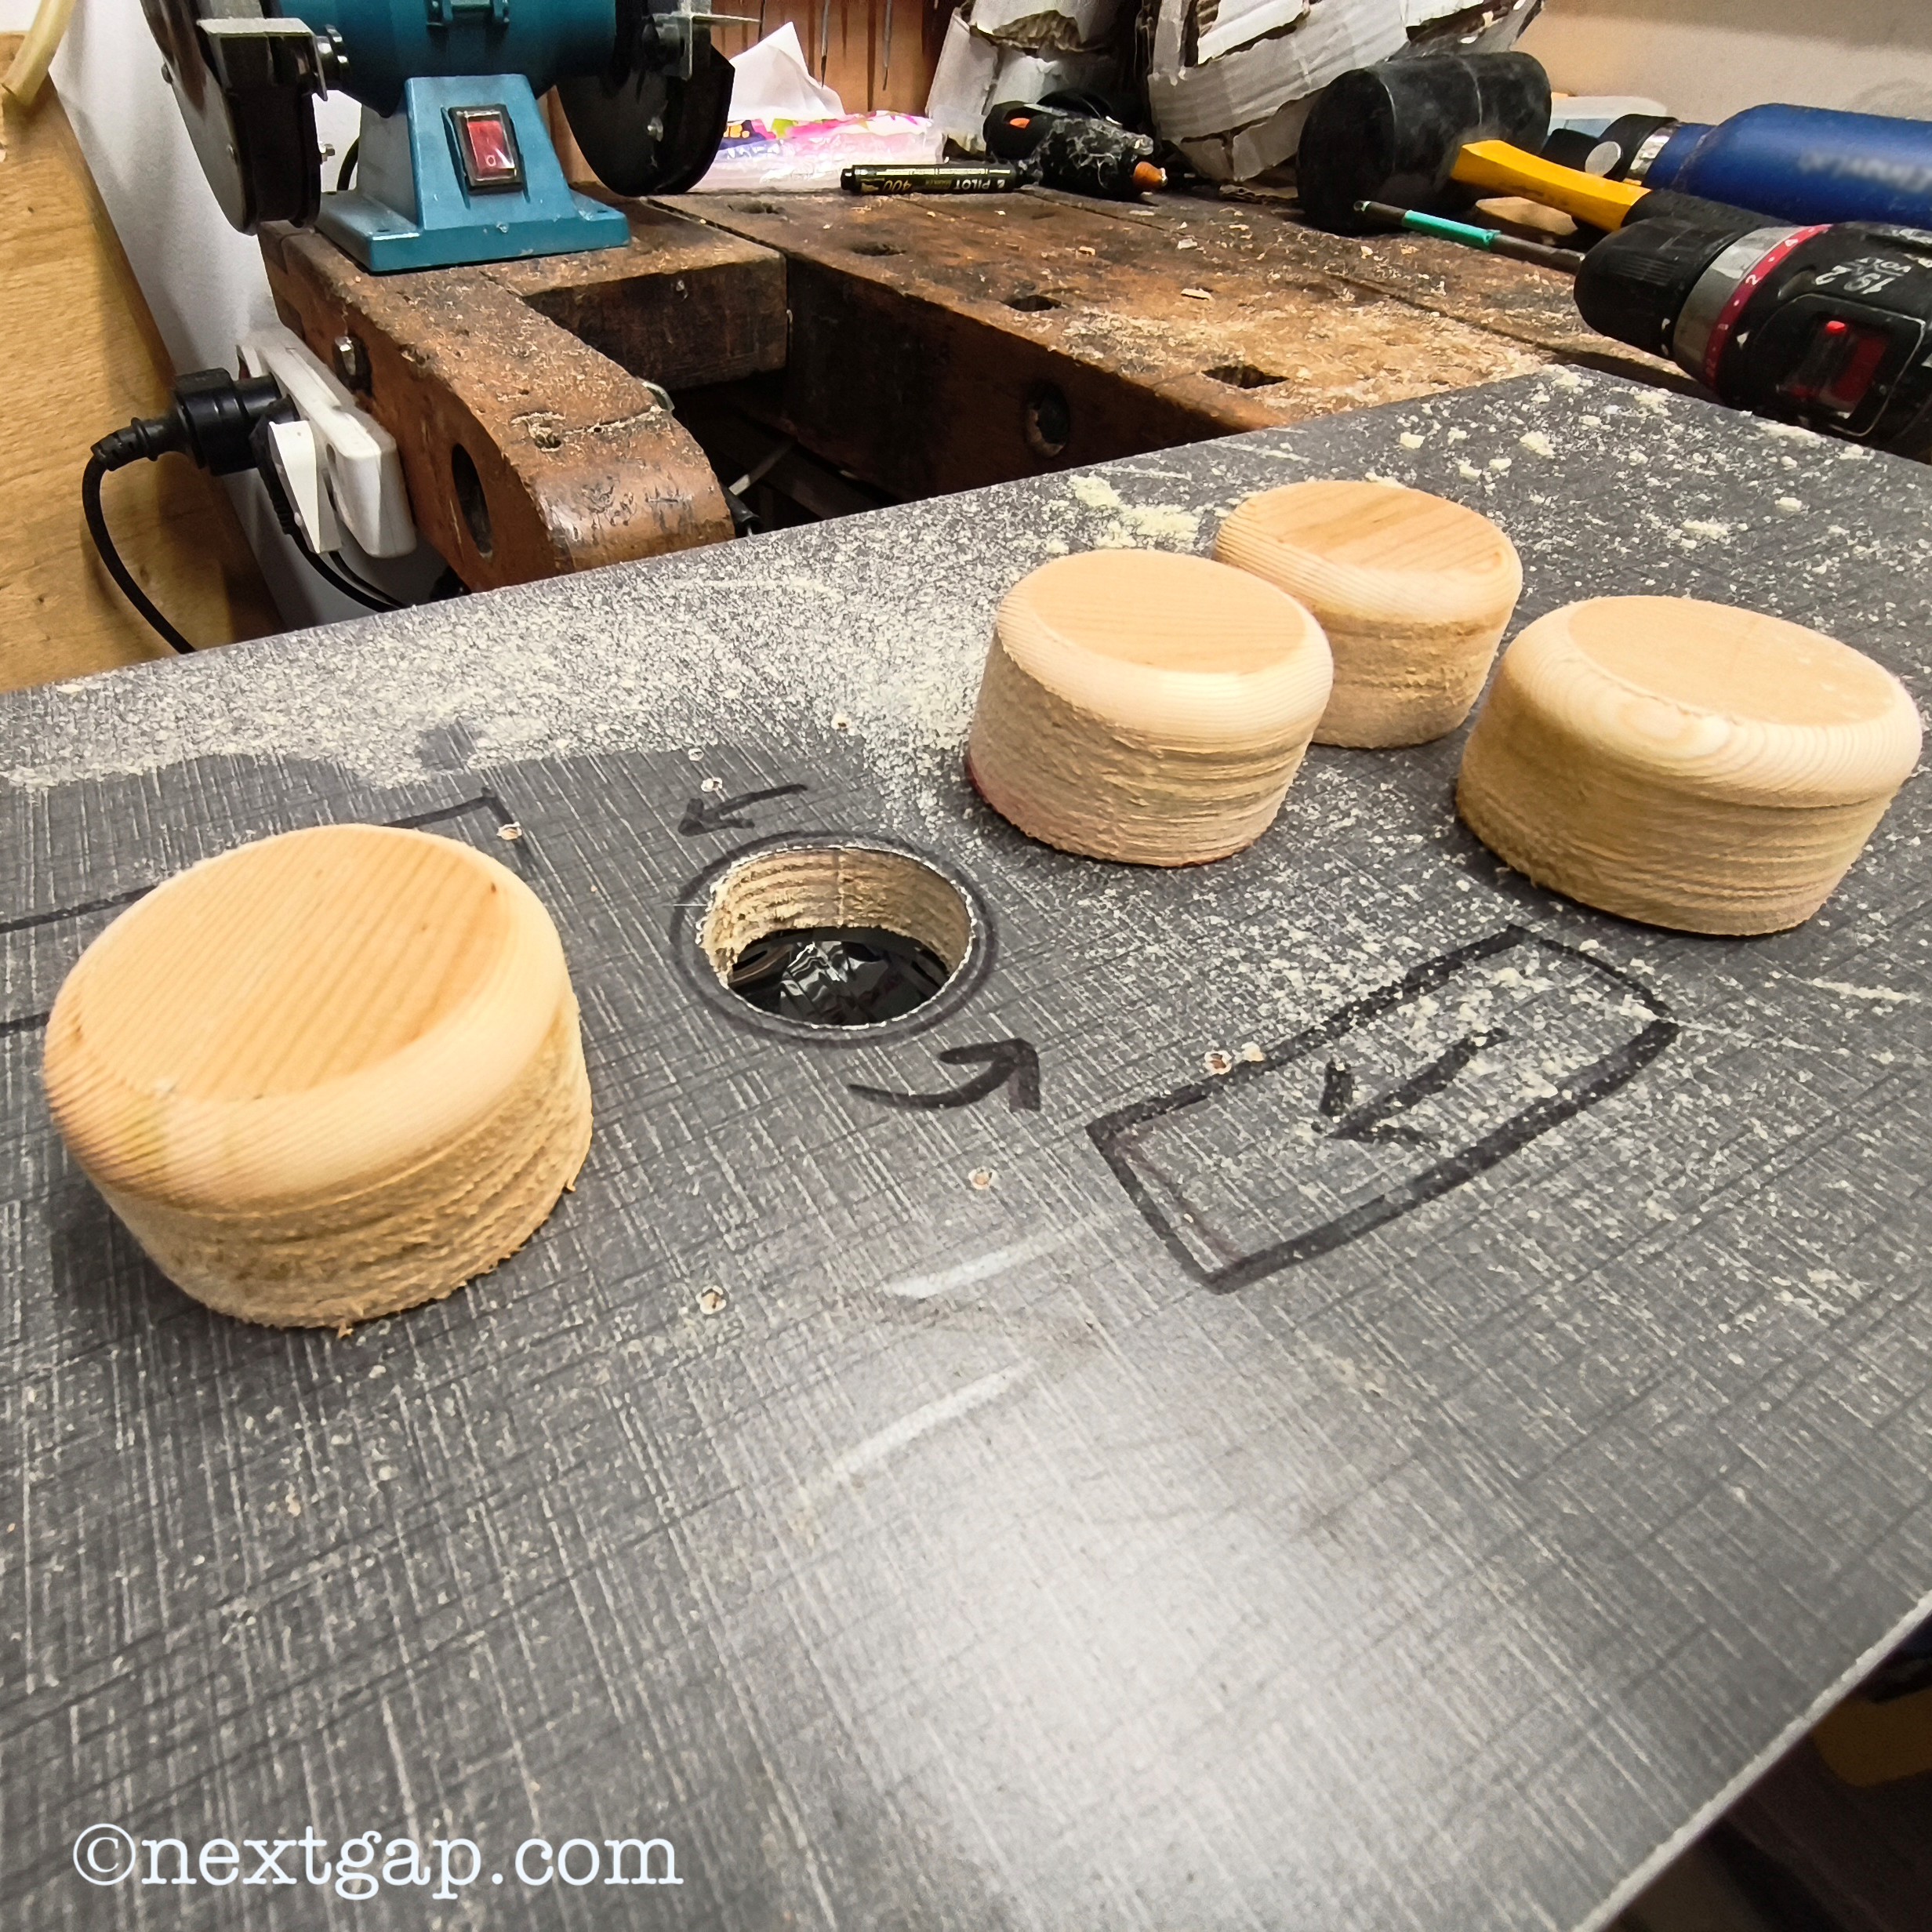
I used the Bosch GOF 130 router for shaping: rounding the main rails and tower rods. I used it as a hand operated tool, to carve the main rails, but used it as a stationary tool after I installed it below a plywood sheet to create a DIY router table, to make the towel rods tenon (the pin that goes in the mortis). The Bosch router is more than a trimmer, it is quite a heavy tool and is perfect for hard tasks, because of it’s power and stability. It can dive about 5 c”m in the wood and comes with 3 collet sizes: 6, 6.35 (1/4″) and 8 m”m.
To round the edges of the different wood parts, I used a Freud Quadra-Cut Radius Rounding Over Bit, it has 4 Cutters, 1/4″ Shank Dia., 3/8″ Radius. Part code 34-114.
I also recently bought the Bosch GAS 12-25 PL vacuum, an excellent companion to the router, especially thanks to its automatic power-tool socket, so anytime the router is on, the vacuum turns on. When you’re done with the router, the vacuum shuts off after a few seconds.
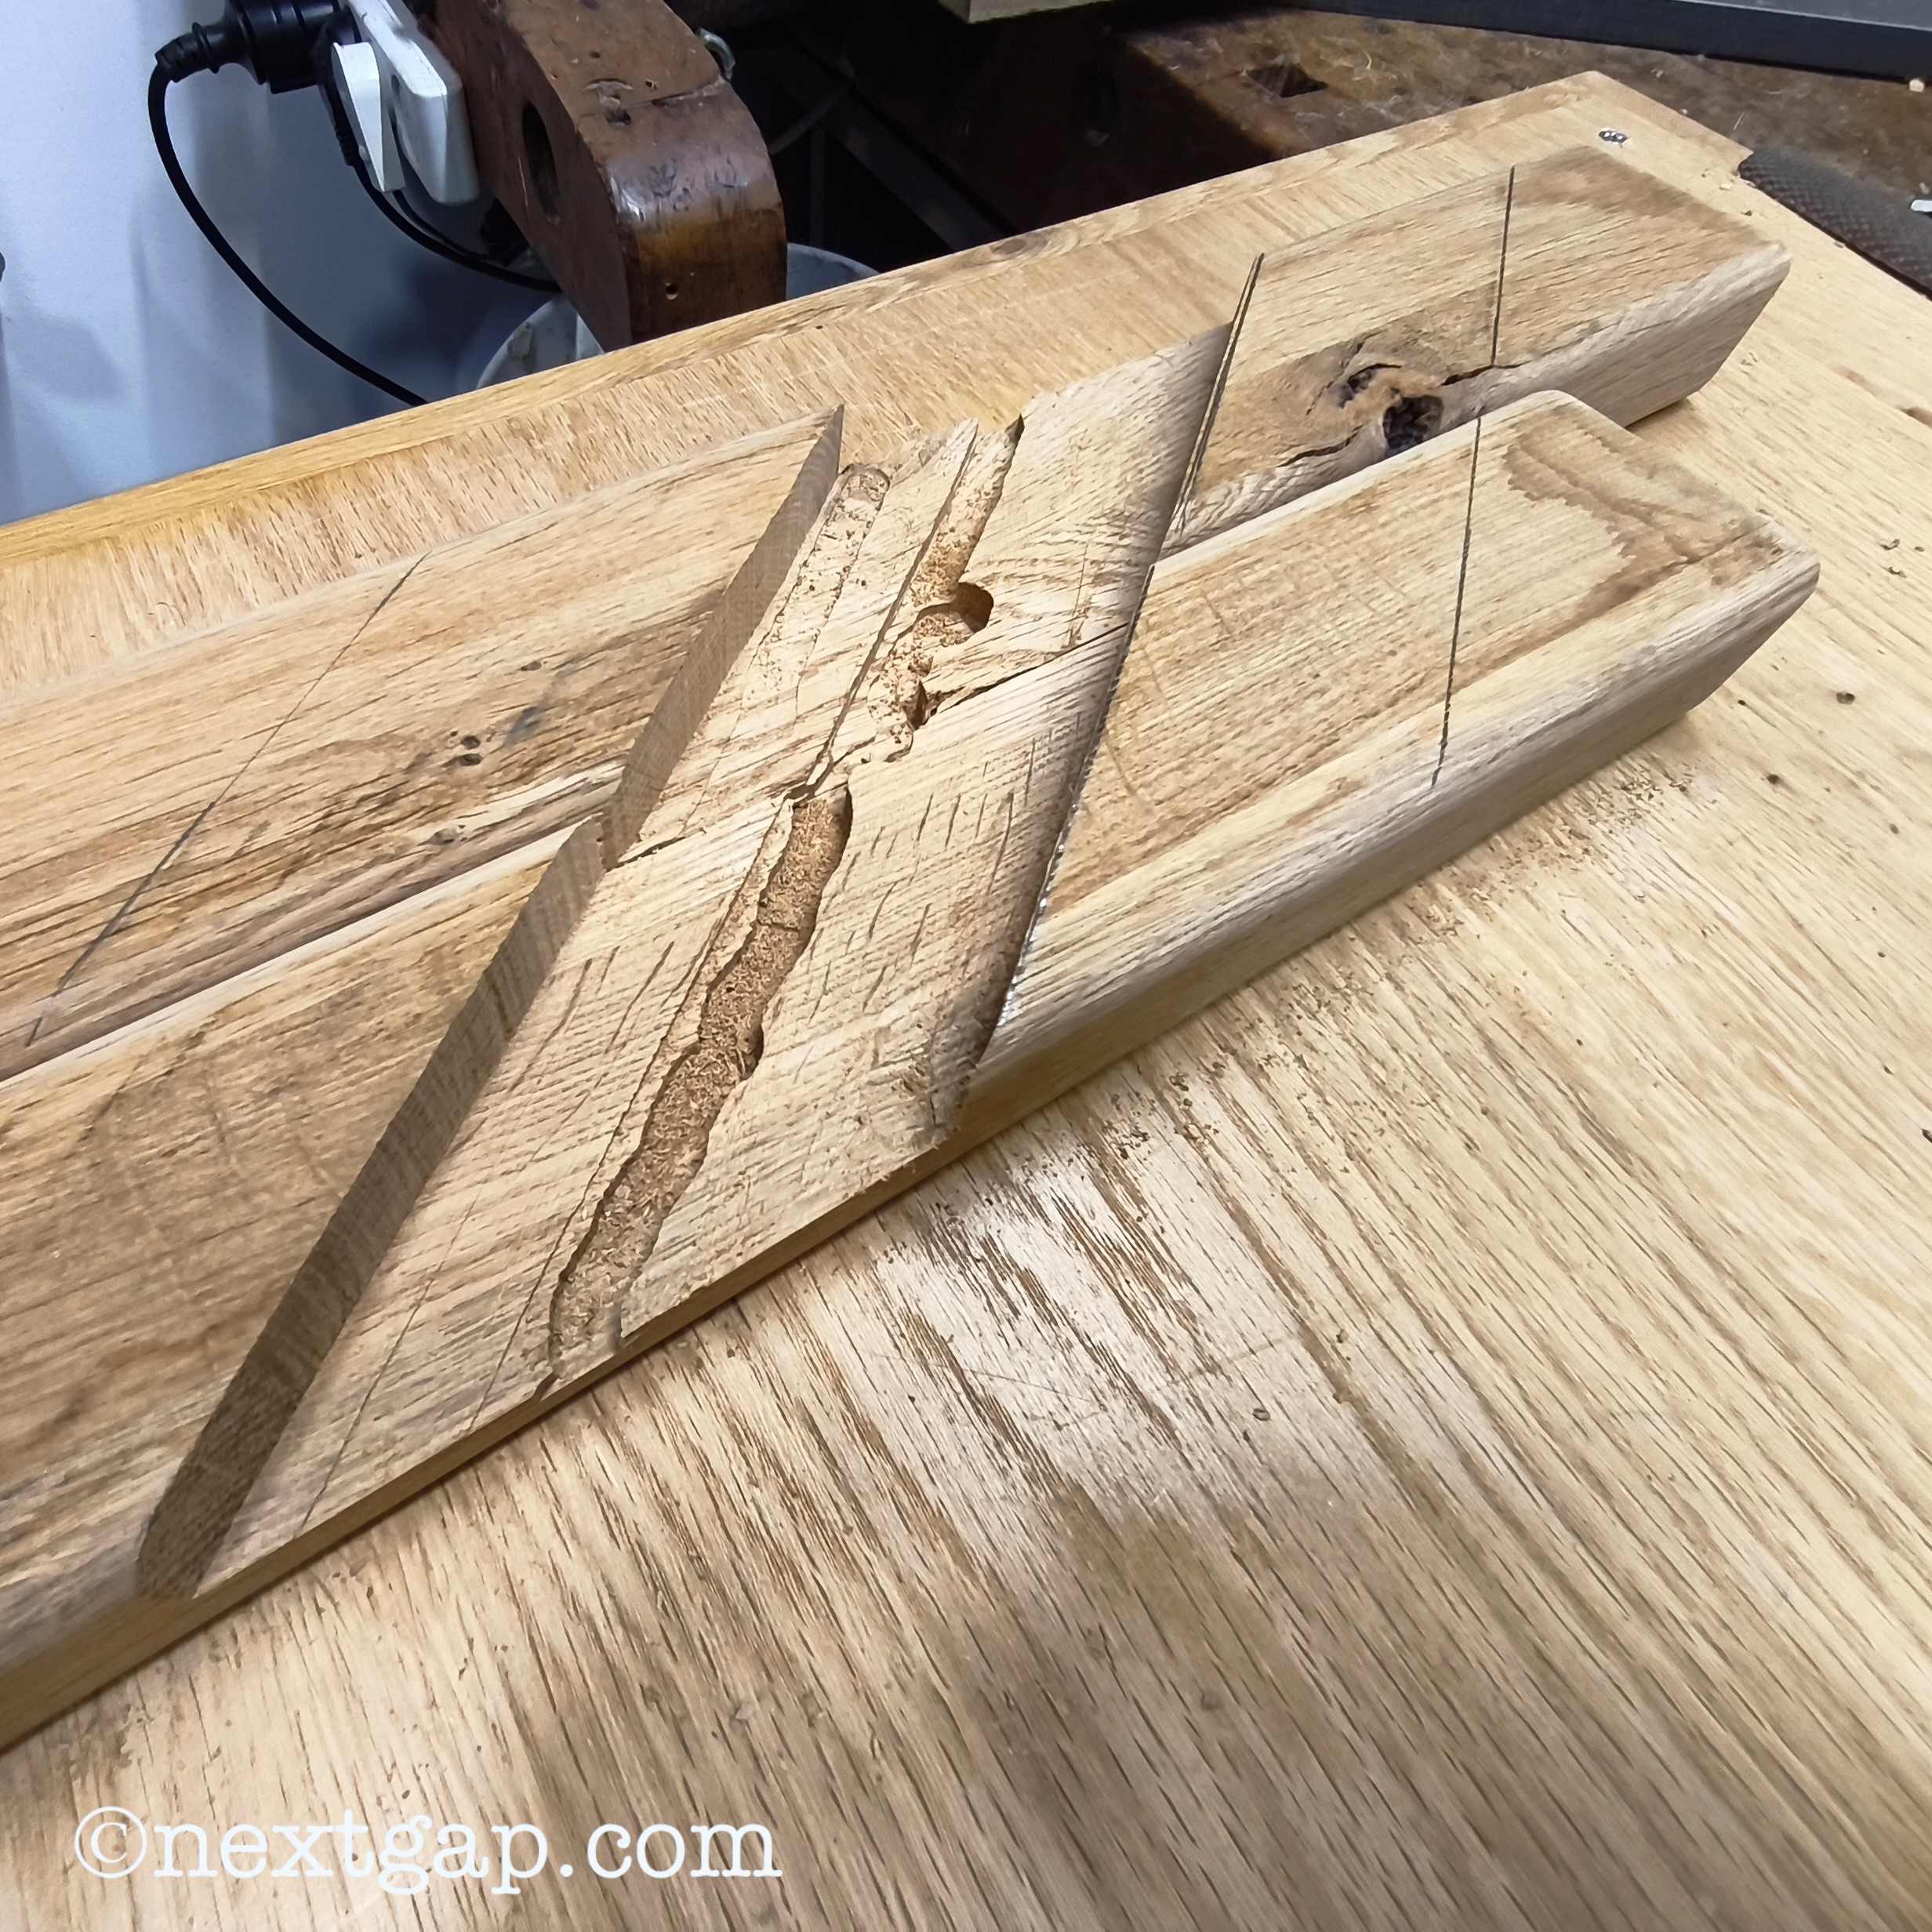
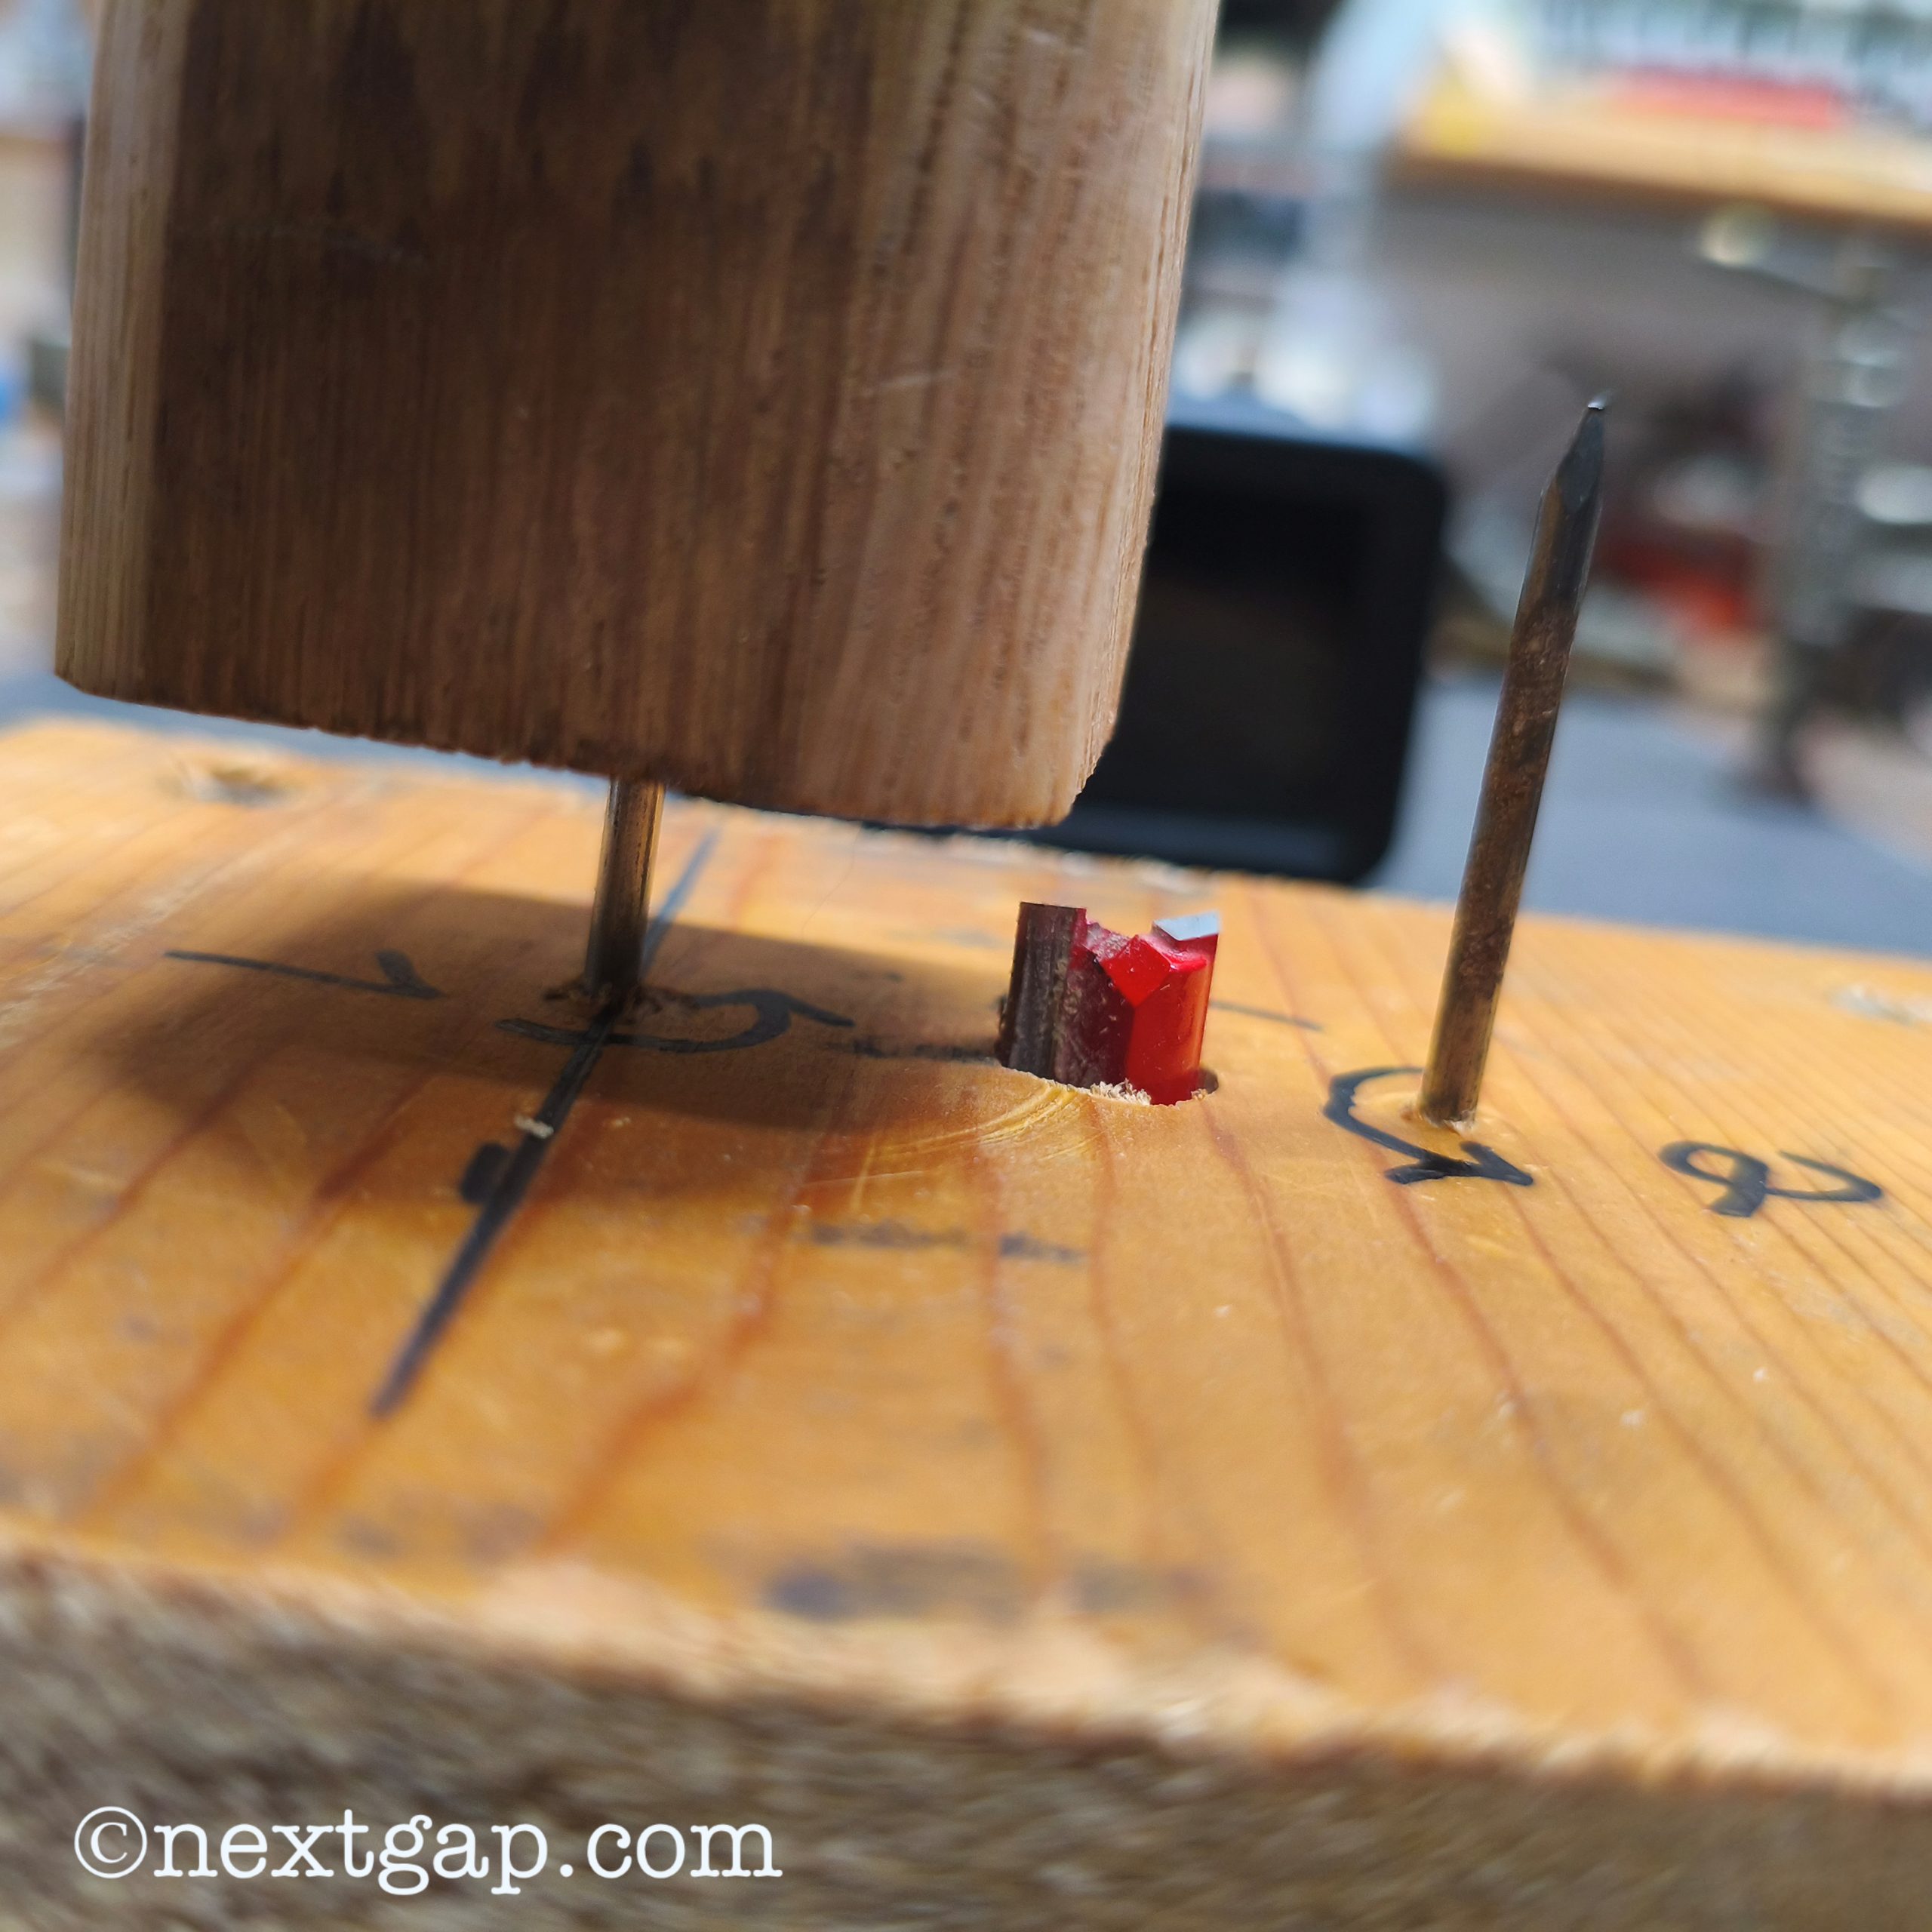
To carve the main rails half-lap, I’ve used a Freud 3/8″ (Dia.) Double Flute Straight Bit Red. Part code 04-126. It carves from the side and the tip as well. There are cheaper option than the Freud but I really wouldn’t buy a highspeed bit from an unknown source. Plus the Freud kept their sharpness, even when dealing with such hard wood.